Ceiling lights play a pivotal role in illuminating our living spaces. Upgrading an old fixture or installing a new one can seem daunting. However, fear not! In this step-by-step guide, we’ll walk you through installing a ceiling light fixture, making it a breeze for even the most novice DIY enthusiast.
Preparing for Installation
Before diving into the installation process, gathering all the necessary tools and materials is crucial. Here’s what you’ll need:
Ceiling light fixture
Screwdriver (flathead and Phillips)
Wire stripper
Wire nuts
Electrical tape
Ladder or step stool
Circuit tester
Once you’ve gathered everything, turn off the power to the existing light fixture at the circuit breaker to ensure safety.
Wiring the New Fixture
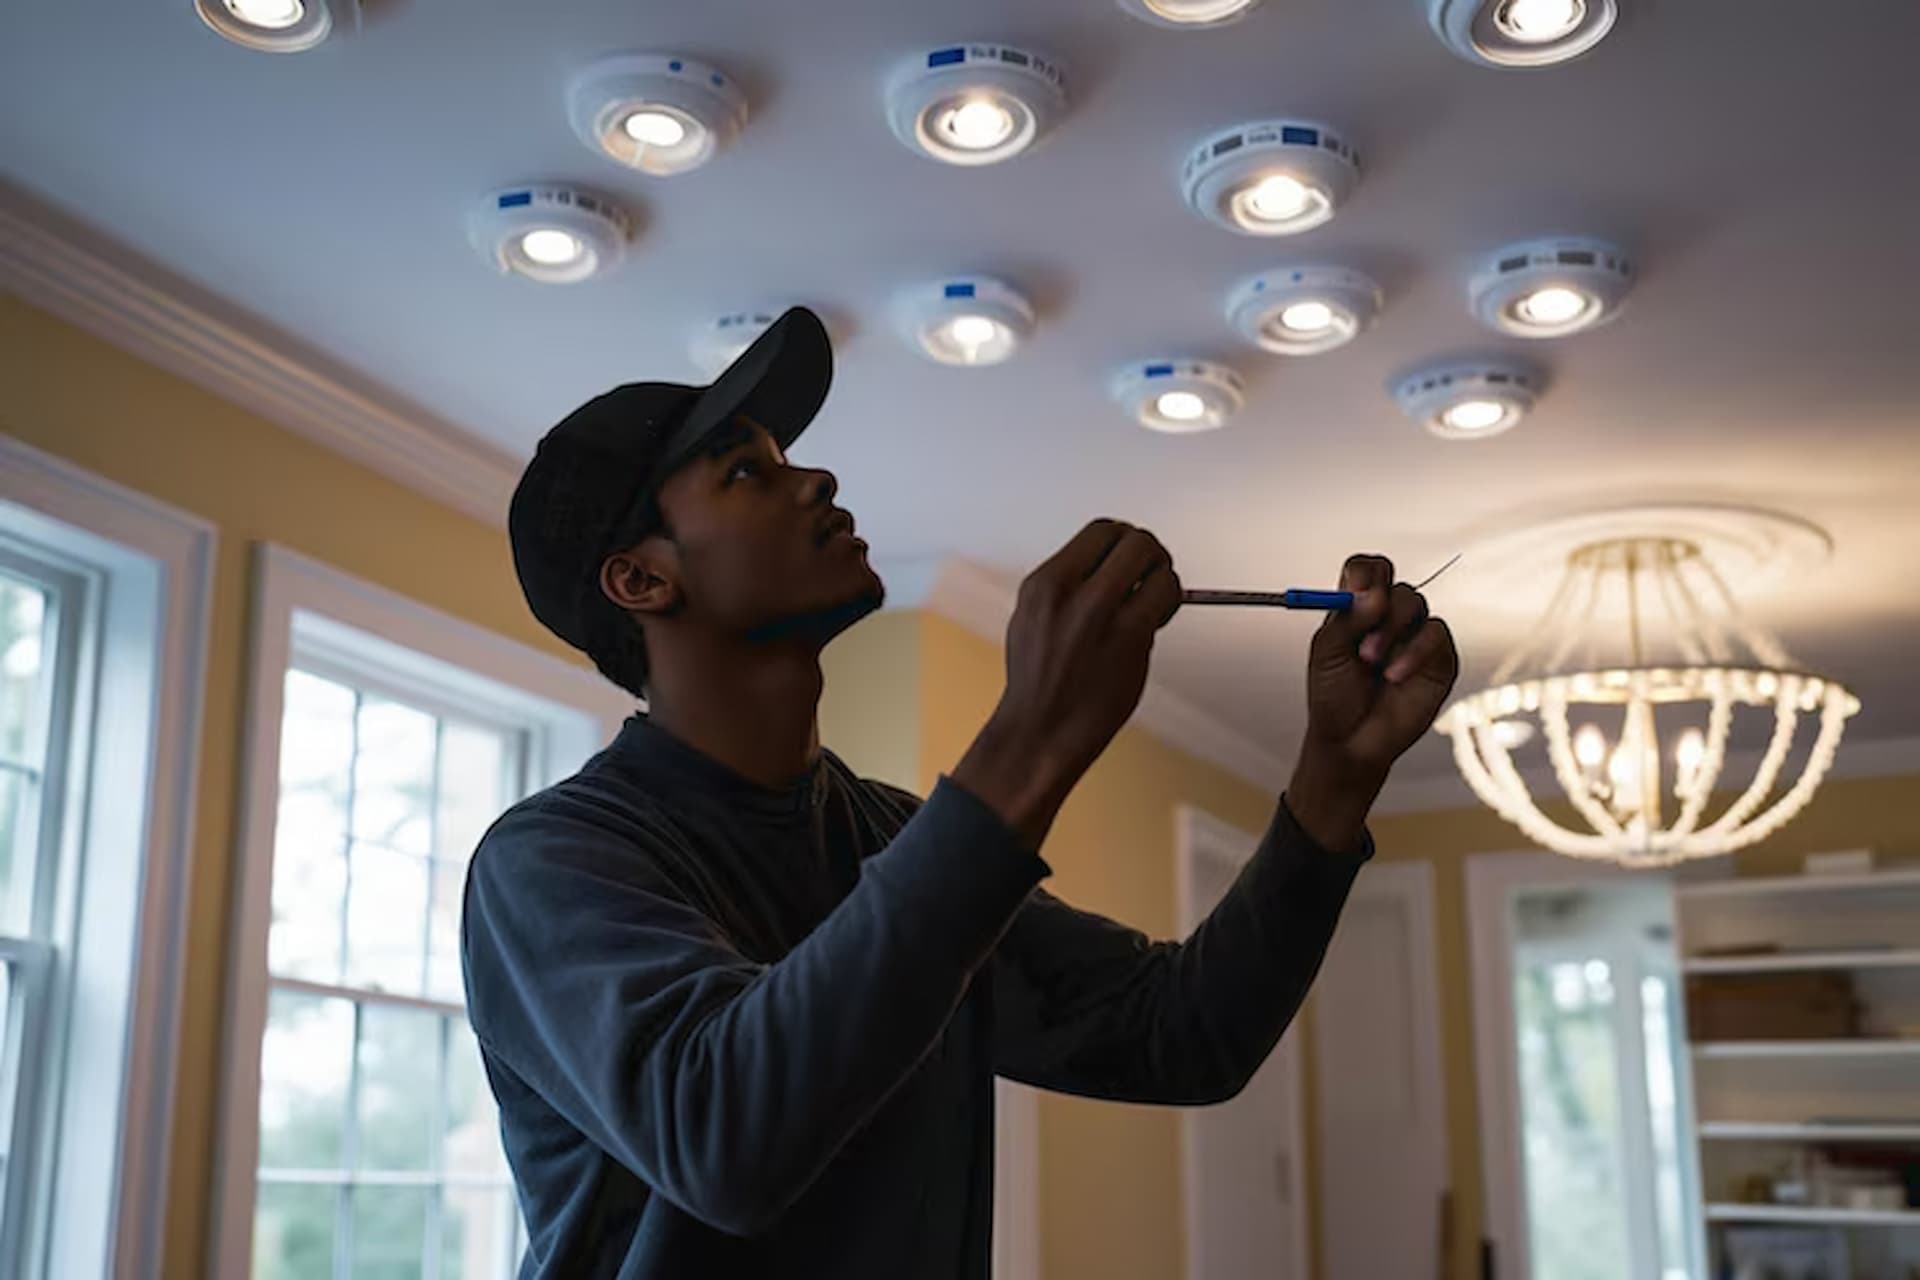
Now it’s time to wire the new 3 ceiling light fixture. Begin by connecting the wires from the fixture to the corresponding wires in the ceiling. Most fixtures will have a black wire (live), a white wire (neutral), and a green or copper wire (ground). Use wire nuts to connect each wire, ensuring no loose connections securely. Once the wires are connected, use electrical tape to wrap the wire nuts for added safety.
Removing the Old Fixture
Start by removing the existing ceiling light fixture. Use a screwdriver to loosen and remove the screws holding the fixture in place. Once the screws are removed, carefully lower the fixture from the ceiling, taking care not to damage the wires. Next, use a circuit tester to ensure the power is off before proceeding.
Attaching the Fixture
With the wiring complete, it’s time to attach the new fixture to the ceiling. Carefully lift the fixture into place, aligning it with the mounting bracket. Once aligned, use screws to secure the fixture to the bracket. Be sure to tighten the screws securely to prevent the fixture from coming loose over time.
Testing and Final Adjustments
After securing the new fixture, testing the installation is essential to ensure everything works correctly. Turn the power back on at the circuit breaker and flip the light switch to activate the fixture. If the light doesn’t turn on, double-check the wiring connections and ensure the circuit breaker hasn’t tripped. Once the light is functioning correctly, make any necessary final adjustments to the fixture’s position and tighten any loose screws.
Safety Tips and Considerations
Safety should always be a top priority when installing a 3 ceiling light fixture. Below are several essential guidelines to remember:
Before commencing any electrical work, it is imperative to deactivate the power source by switching off the circuit breaker.
Use a sturdy ladder or step stool to reach the ceiling safely.
Test the wires with a circuit tester to ensure the power is off before touching them.
Avoid overloading the circuit by ensuring the wattage of the new fixture is appropriate for the circuit.
If you need clarification on any installation process, consult a licensed electrician for assistance.
Choosing the Right Fixture for Your Space
With a wide variety of ceiling light fixtures available, choosing the right one for your space can seem overwhelming. Consider the room’s size and style, the desired brightness level, and specific aesthetic preferences. Whether you opt for a sleek and modern design or a classic and elegant fixture, ensure it complements the room’s overall decor and meets your lighting needs.
Maintenance and Care
Proper maintenance ensures longevity and performance once your new ceiling light fixture is installed. Regularly dust the fixture and clean any accumulated dirt or debris to prevent it from affecting the light output. Additionally, periodically check the wiring connections and mounting hardware to ensure everything remains secure. If you notice any issues or signs of damage, address them promptly to prevent further problems.
Conclusion
Installing a ceiling light fixture doesn’t have to be a daunting task. With the right tools, materials, and guidance, you can easily upgrade your lighting and enhance the ambience of any room in your home. By following this step-by-step guide, you’ll be well on your way to illuminating your space with style and confidence. Remember to prioritise safety at every step of the process, and don’t hesitate to seek professional assistance. Now, brighten up your home with a stunning new ceiling light fixture!